How to Clean Paintbrushes and Store Them to Last Longer
Investing in high-quality paintbrushes is an important part of setting your DIY projects up for success.
However, while it is important to work with quality tools, it is just as important to ensure your investments last. You can do this by properly cleaning and storing your paintbrushes after use.
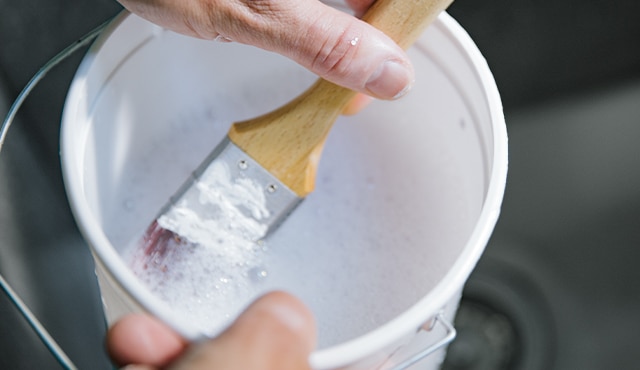
Taking the time to properly clean your paintbrushes will keep them in good shape for your next project. On the other hand, taking shortcuts can result in old paint debris and frayed bristles turning your next project into a disaster. To avoid this fate, follow the paintbrush cleaning steps outlined below.
Cleaning Paintbrushes and Storing Them
Caring for your paintbrushes is always a good idea, as proper cleaning and storage can extend the life of these essential tools. Watch the video to hear from our expert on the best way to maintain paintbrushes and see our step-by-step guidance below.Need help selecting a paintbrush? Check out our guide.
Step by Step: How to Clean a Paintbrush
Step 1: Scrape Excess Paint from the Brush
The first step to cleaning a paintbrush is to remove any excess paint from the bristles.
If the paint on your brush is still wet, start scraping off excess paint by pressing it against the inside lip of the paint can. Then brush any paint that’s left on the brush onto a piece of scrap paper.
If the paint on the brush is dry, the best way to clean your paintbrush is to use hot water and dish detergent.
Helpful Tip
Be sure to clean your paintbrushes immediately after using them.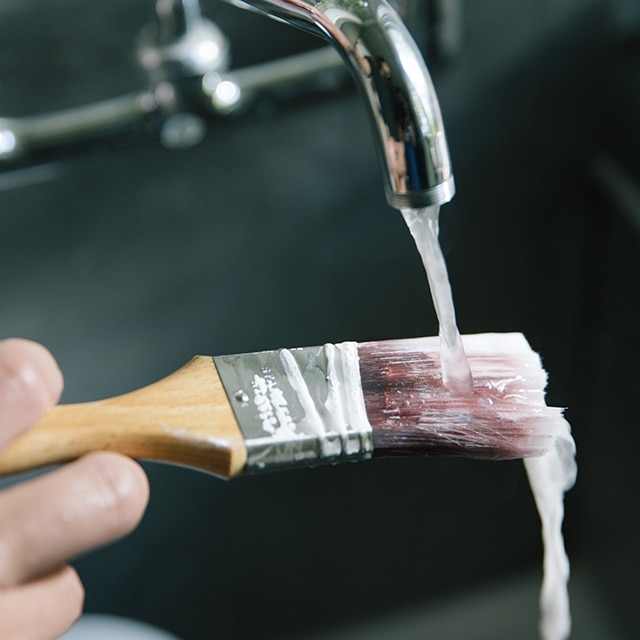
Step 2: Clean the Paintbrush
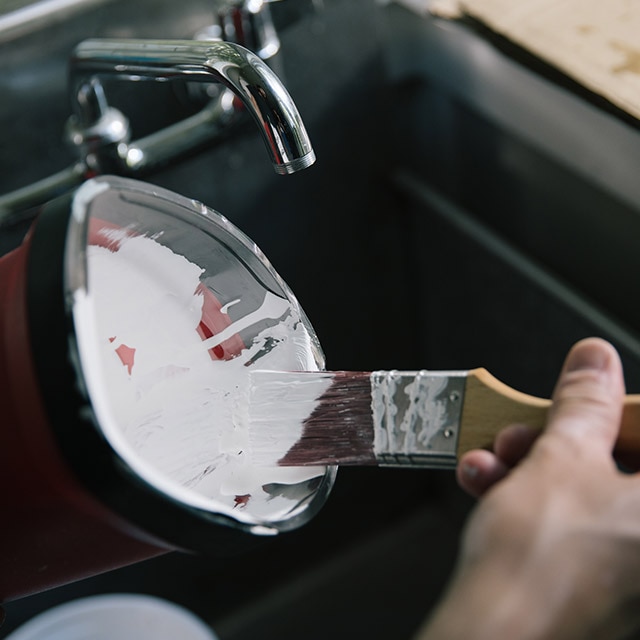
To clean a paintbrush after using acrylic- or latex-based paint, like Aura®, Regal® Select, or Ben® Interior, run hot water over the brush and add a few drops of dish detergent.
The hotter the water, the better you can clean your brush. However, make sure to wear rubber gloves for comfort and safety, and be careful not to use too much soap.
To clean a brush after using oil-based paint, start by dipping the brush into a small container of paint thinner. Press the bristles repeatedly to the bottom of the container to facilitate the solvent removal process.
Step 3: Remove Remaining Paint
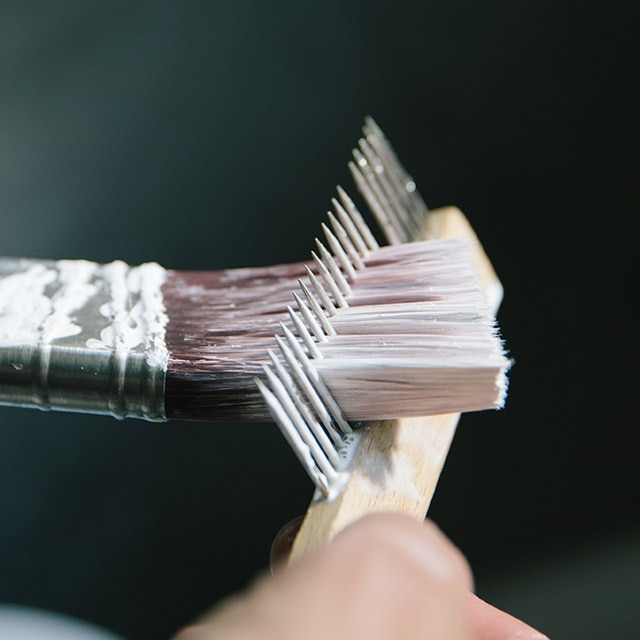
Work any remaining paint out of the brush with your hand. You can also use a brush comb (available at your local Benjamin Moore store) or a scrub pad to remove stubborn paint spots. When all the paint is removed, thoroughly rinse the brush with warm water.
Step 4: Shake, Reshape, and Dry
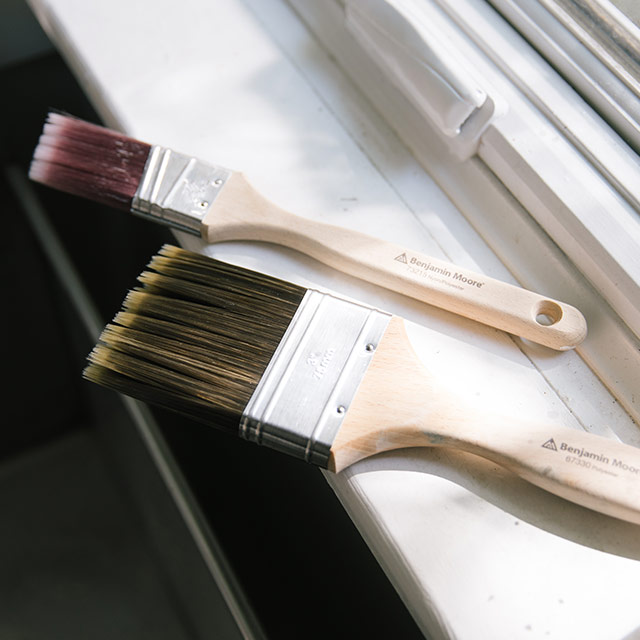
Shake out as much water as possible and then reshape the bristles with your hands or a brush comb to make it look like new. Lay the brush flat where nothing will touch the bristles while they dry.
Step 5: Store the Paintbrush
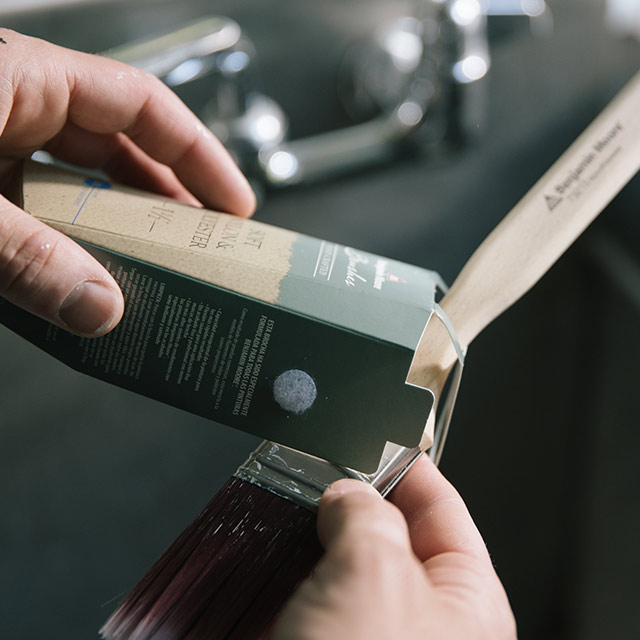
For best results on how to store paintbrushes, return the clean, dry brush to its original packaging to maintain the bristle shape.
If you don’t have the original packaging, you can protect the shape of your paintbrush by wrapping it in a paper towel or newspaper, or placing it between two pieces of cardboard and securing it with a rubber band or tape.
Visit your locally owned Benjamin Moore® store for help with all of your painting needs. Find more tips in our how-to section.
Frequently Asked Questions
Q. How many times can a paintbrush be reused?
A. A paintbrush can be used as long as it is functional. You can extend your paintbrush’s lifespan by properly cleaning it after use and storing it so that the bristles don’t fray or lose their shape.
Q. Is it better to wash paintbrushes in hot water or cold water?
A. The hotter the water, the better you can clean your brush. However, make sure to wear rubber gloves for comfort and safety, and be careful not to use too much soap.
Q. How long does it take for a paintbrush to dry?
A. The length of time it takes for a paintbrush to dry depends on the thickness of the brush and how wet it is. In general, it should take a few hours.
Q. How should I store paintbrushes after a painting project?
A. For best results, return each clean, dry brush to its original packaging to maintain the bristle shape.
If you don’t have the original packaging, you can protect the shape of your paintbrush by wrapping it in a paper towel or newspaper, or placing it between two pieces of cardboard and securing it with a rubber band or tape.
Q. What is the lifespan of a paintbrush?
A. A paintbrush’s lifespan is how long the brush can be used before it no longer retains paint or provides a smooth application process. This is determined by how frequently the brushes are cleaned and if the bristles keep their shape.
Q. When should I dispose of a paintbrush?
A. You can tell a paintbrush is getting past its prime if the bristles start shedding or becoming frayed, or if the brush has lost its shape.

