How To Paint Window Trim

Painting interior window trim is an affordable option for freshening up your space.

A homeowner painting white window trim with gray paint. A homeowner painting white window trim with gray paint.
You can easily and cost-effectively update any room by giving window trim a fresh coat of paint. Whether you choose a monochromatic look or opt for dynamic colour contrast, painting window trim is a fun DIY project you can do in a day or less!

Types of Window Trim

Different materials used to make interior window trim include:
  • Wood: The most common type of interior window trim. A high-quality latex semi-gloss paint like ben® Interior Paint is recommended for wood window trim. ADVANCE® Interior Paint is also a great option for its durable, furniture-like finish. For wood, use Fresh Start® High-Hiding All Purpose Primer.
  • Medium-Density Fiberboard (MDF): Due to its affordability, MDF is becoming more popular. Use Fresh Start® High-Hiding All Purpose Primer, and use ben® or ADVANCE® for the top coat.
  • Vinyl: A commonly used material for interior framework. Use Fresh Start® High-Hiding All Purpose Primer, and use ben® or ADVANCE® for the top coat.
  • PVC/plastic: Use a high-adhesion primer like STIX® Waterborne Bonding Primer. Use Fresh Start® High-Hiding All Purpose Primer, and use ben® or ADVANCE® for the top coat.

Helpful Tip

Many homeowners opt for a shinier finish for a design accent on window trim: think satin, semi-gloss or high-gloss.
Learn how to paint window trim to beautify any space.

Anatomy of a Window

Use this glossary to help with our step-by-step guide to painting windows below.
  • Trim: The molding around the window, just beyond the frame, that shares a border with the wall. Trim and molding are often interchangeable terms.
  • Frame: The interior casing that holds the window in place. The frame sits inside of the trim, and serves as the outer perimeter of the glass. A window’s frame is also known as the sash.
  • Grille: The narrow strip of material (often wood, metal or vinyl) used to separate the window’s glass into panes. It can also be referred to as a grid.
Step-by-Step Guide: How to Paint Interior Window Trim
A homeowner cleans their window trim.
1

Clean and prep your space

A homeowner cleans their window trim.
Start by moving any furniture out of the way. Remove any mounted treatments, and clean and patch any minor cracks or holes. Thoroughly clean the window trim, frame and any grilles you’ll be painting with a damp cloth.
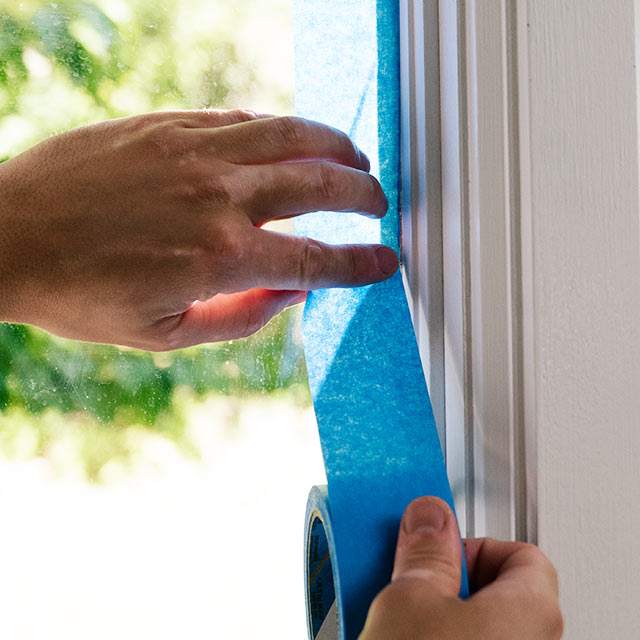
A homeowner applies painter's tape to a windowpane.
2

Create your tape borders

A homeowner applies painter's tape to a windowpane.
Tape off the border between the window trim and the wall. If you’re painting the window’s frame, tape the border between the frame and the glass. If you’re not painting the frame, tape off the frame from the window trim. If you’re painting any window grilles, tape off the grilles from the glass.

Helpful Tip

Many professional painters paint grilles without using tape to save time. No matter how steady your hand is, we recommend using tape to ensure a straight line.
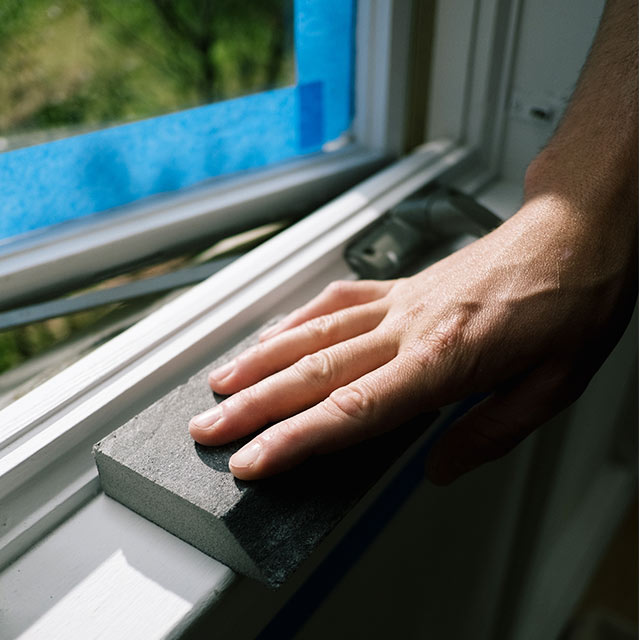
A homeowner sanding their window trim.
3

Sand the surfaces

A homeowner sanding their window trim.
Create a smooth painting surface by first sanding any surfaces you’re painting (trim, frame, grilles) using your sanding sponge and medium-grit (120- to 150-grit) sandpaper.

Switch to fine-grit (220-grit) sandpaper with your sanding sponge for an ultra-smooth finish. Be sure to clean all sanding debris from the surfaces you’ll be painting.


Helpful Tip

Sandpaper will scratch glass. Be careful not to let the sandpaper scrape against your windowpanes.
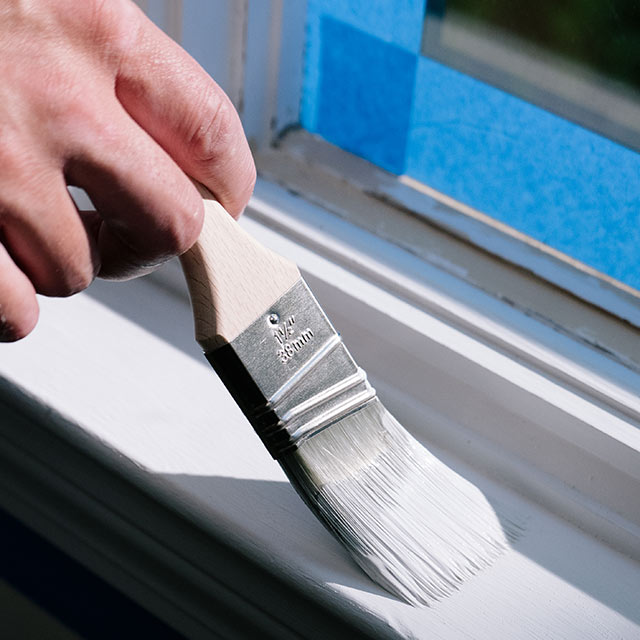
A homeowner priming their window trim.
4

Prime your window

A homeowner priming their window trim.
Prime the window trim (and frame or grilles if you’re painting them), especially if your window material is unfinished. Allow the primer to dry completely.
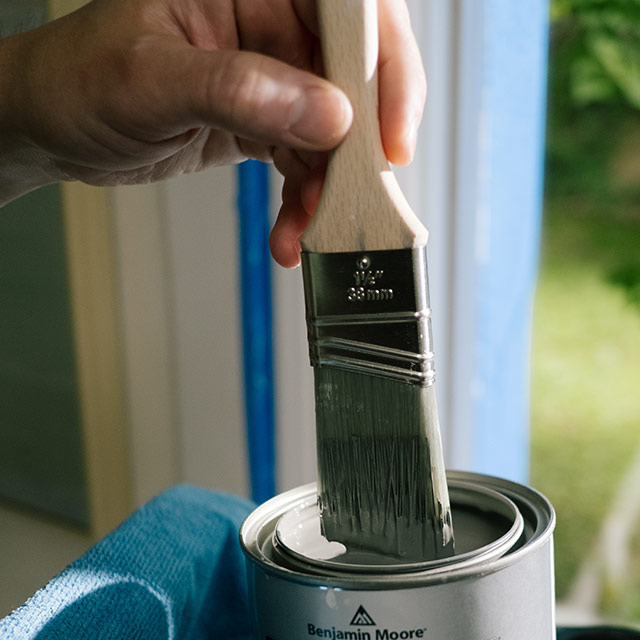
A homeowner dips a paintbrush into a quart of ADVANCE interior paint in satin finish.
5

Start painting

A homeowner dips a paintbrush into a quart of ADVANCE interior paint in satin finish.
For narrow strips of trim, frame or grilles, or for painting fine details like a corner, use a small 2.5-cm angled paintbrush. Use a large 5-cm angled paintbrush for bigger areas of the window molding.

Helpful Tip

Start from the inside edge and work your way outward, painting toward the wall.
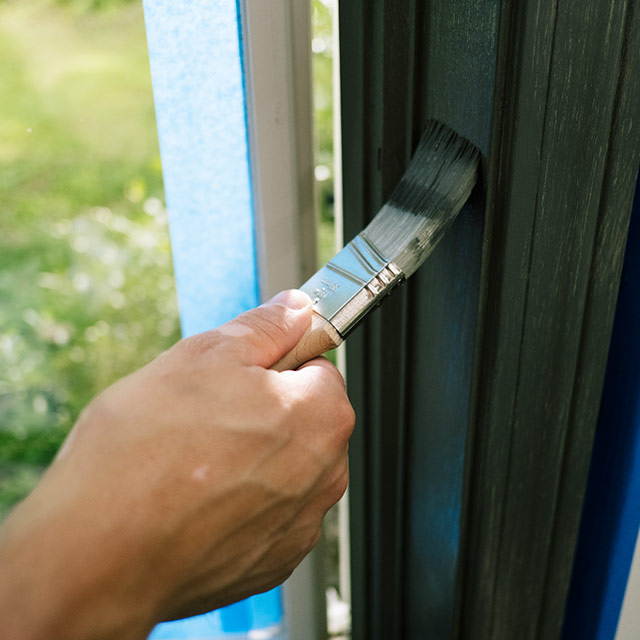
A homeowner applying a second coat of paint to their window trim.
6

Let dry and repeat

A homeowner applying a second coat of paint to their window trim.
Once the first coat is dry, repeat the painting process with a second coat of paint. Remove your tape immediately after applying the second coat, and allow the paint to cure before putting back any mounted window treatments. Read all paint and primer instructions carefully, as dry time (the length of time before applying a new coat) and cure time (the time before you can return any mounted treatments) may vary. You can find dry and cure times on the paint can or the paint’s Technical Data Sheet (TDS).

Visit your local Benjamin Moore® retailer for help with all your painting needs. Find more tips in our How-To section.