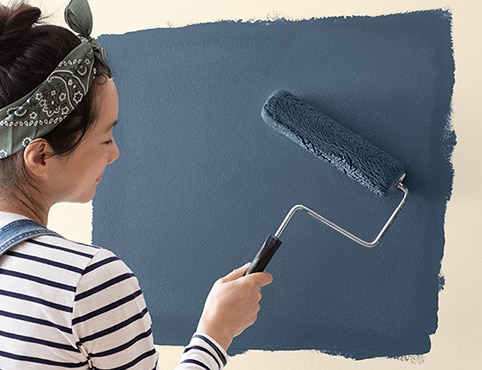
Step #1: Make a Plan
Making all the decisions you need to make before getting started on your painting project will save you time, including:
- Choose your color. Paint color samples are essential to selecting a color you’ll love.
- Choose your finish. Note: If your walls have imperfections, flat or matte finishes are more forgiving than semi-gloss and gloss finishes.
- Choose your products. Consult with your local Benjamin Moore retailer to select the right paint products.
- Gather your materials. Will you need an extension pole or a ladder to reach higher parts of your space? Do you have drop cloths, brushes, rollers, painter’s tape and all the painting supplies you need? Look at your job holistically before getting started.
- Prep your space. Place a drop cloth down on the floor and to cover any furniture. If you’re painting your trim, molding or baseboards a different color from your walls, tape off your molding-wall border.
Helpful Tip
Use the Benjamin Moore Color Portfolio® app to visualize different paint colors in your space.Step #2: Prep the Walls
When prepping a room for painting, it’s important to prepare your walls.
- Inspect walls for imperfections and repair any cracks or small holes.
- Sand down any repaired areas with 220-grit sandpaper and a sanding sponge.
- Vacuum up any sanding dust and wipe your walls down again with a damp rag. Allow the walls to dry completely.
Step #3: Clean the Walls
- Wipe away any dust from sanding with a damp rag.
- Thoroughly clean your walls with damp rags or a sponge and warm water, starting from the top and working downward.
- Allow the walls to dry completely.
Step #4: Paint the Ceiling
- When it comes to painting a ceiling, using the right product will make this part of your project much easier.
- Waterborne Ceiling Paint has a forgiving ultra-flat finish offering superior hide that covers any DIY mistakes.
- Tape off the borders of your ceiling. Cut in the edges of your ceiling with a paintbrush.
- Switch to a roller to roll an even coat of paint onto the remaining surface area.
Helpful Tip
If your ceiling is textured, for example, a popcorn ceiling, you should use a roller, not a paintbrush. Talk to your local Benjamin Moore retailer about the best approach to painting a textured ceiling.Step #5: Paint Trim, Moldings and Baseboards
- If you’re painting your trim, molding or baseboards a different color from your walls, tape off your molding-wall border.
- If your trim, molding or baseboards have been previously painted, you don’t need to use primer. If not previously painted, apply an even coat of Fresh Start® High-Hiding All Purpose Primer with a paintbrush and let dry completely.
- Use a paintbrush to cut in your project edges and apply an even layer of Regal® Select Interior paint to your trim, molding or baseboards.
Step #6: Paint the Walls
- If your walls have been previously painted, you don’t need to prime them.
- If you’re working with unfinished drywall, use a paintbrush to cut in your wall borders with Fresh Start® High-Hiding All Purpose Primer.
- Switch to a roller and roll the primer onto the remaining surface area.
- If you’ve used primer, allow it to dry completely before you paint your walls.
- To start painting, cut in the edges of your walls with Regal® Select Interior paint using a paintbrush.
- Switch to a roller and roll your paint along the wall to evenly cover the rest of your project area.
Step #7: Let Dry and Apply Second Coat
- For your ceiling, trim, molding and walls, allow your first coat of paint to dry completely before applying a second coat.
- If you’ve taped off your trim, remove your painter’s tape immediately after applying your final coat of paint.
- Let your freshly painted ceiling, trim, molding and walls dry completely before returning the area to everyday use.
Ready for More Interior DIY?
Now that you know the easiest way to paint a room, check out some ideas and inspiration for other interior projects that can transform your space.As always, visit your local Benjamin Moore retailer for help with all your painting needs.


