HOW TO PAINT A STAIRCASE
If you’re looking to transform a staircase without breaking the bank, a fresh paint job can do the trick.
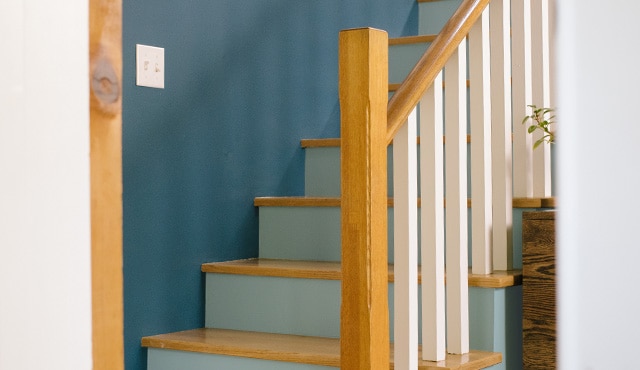
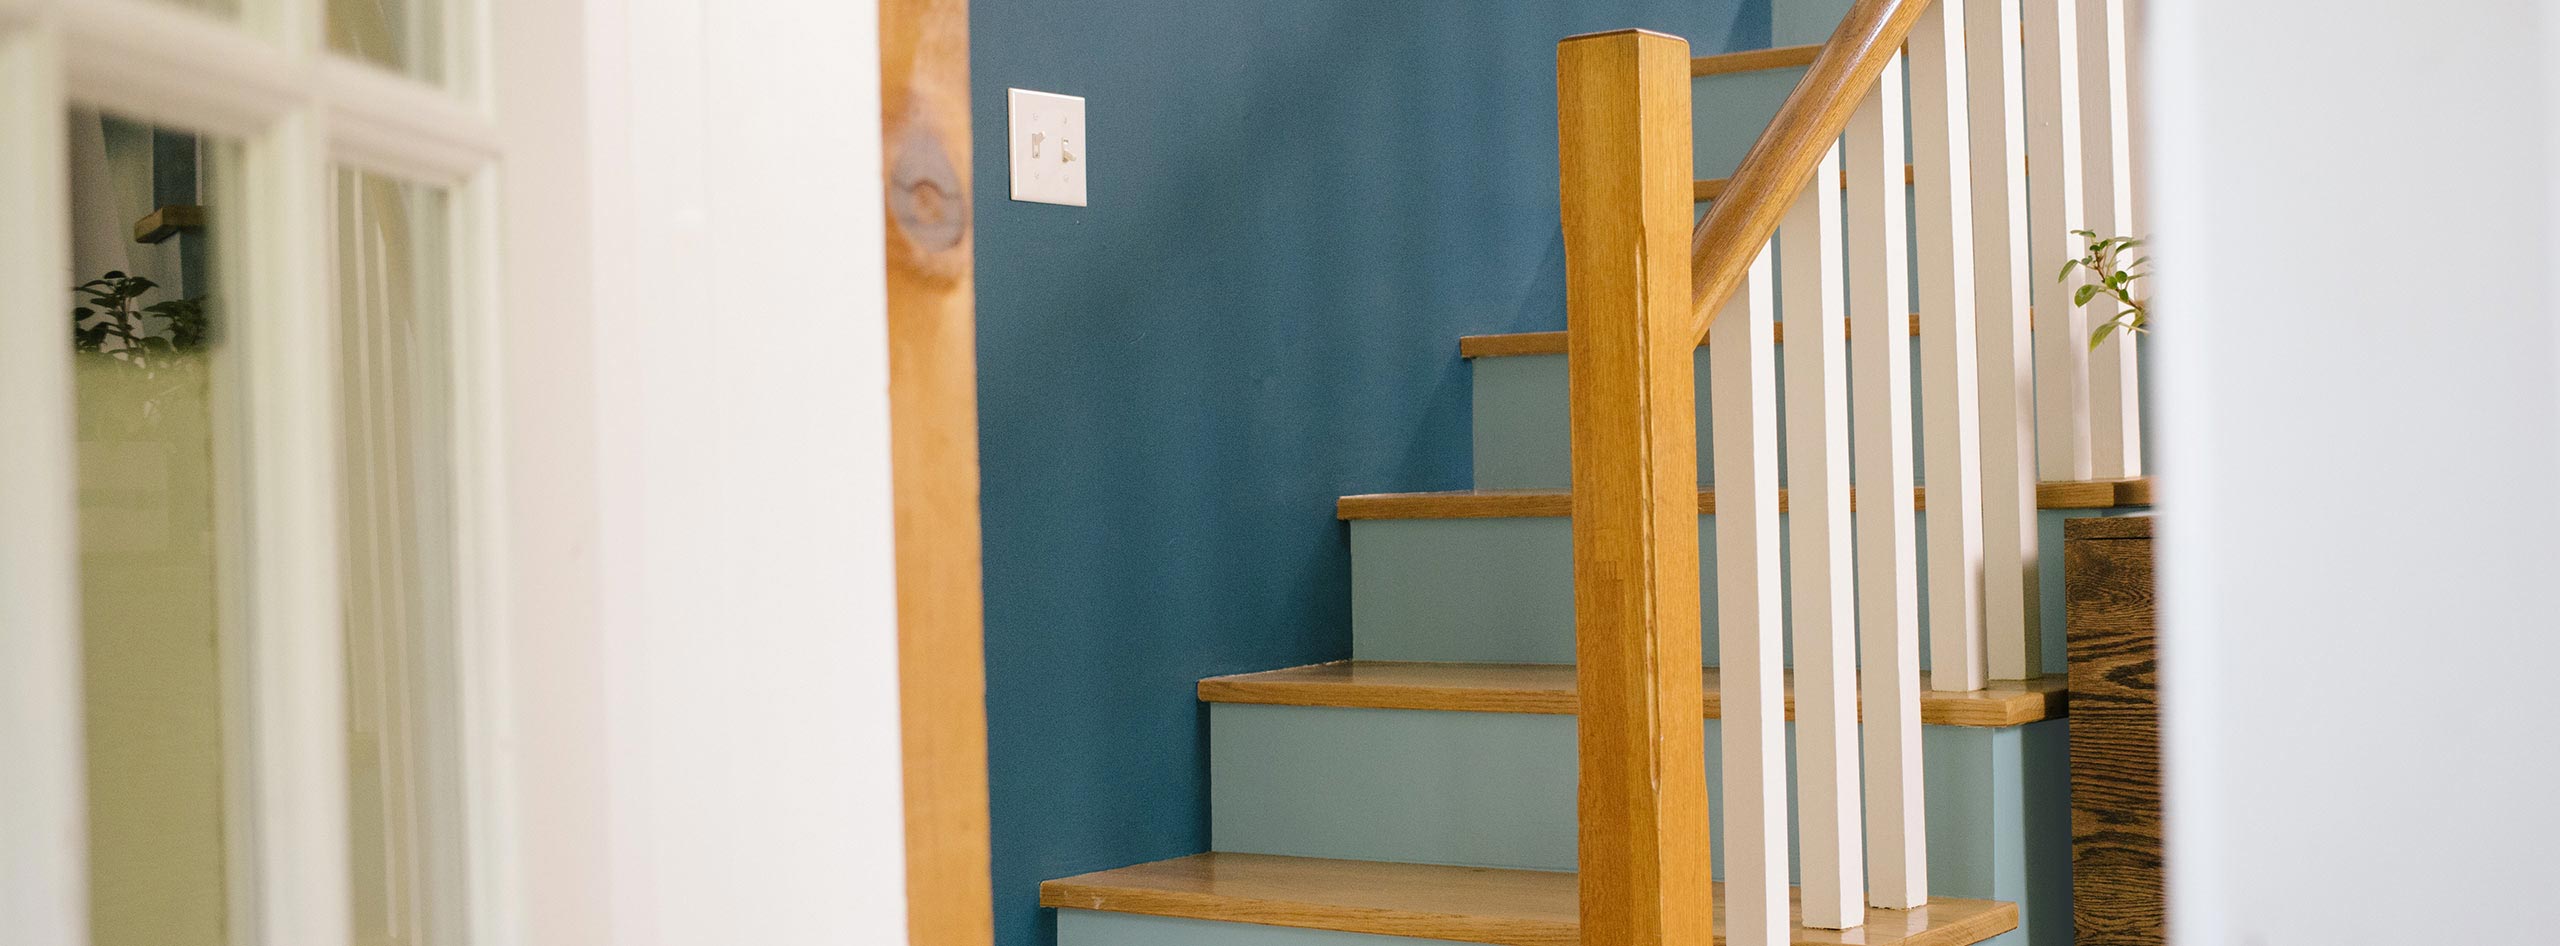
Staircase 101: Parts of a Staircase
Before getting started on painting a staircase, DIYers should be familiar with the parts of a staircase, including:- Handrail - The support beam that runs alongside the staircase for safety.
- Nosing - The portion of the tread that extends beyond the riser.
- Riser - The inner vertical surface of each step that gives it elevation.
- Spindles - The cylindrical or rectangular shafts that support the handrail.
- Stringers (open and closed) - The support pieces that run along the base of the stairs up the wall.
- Tread - The horizontal top surface of each step that you walk on as you climb the stairs.
Step-by-Step: Painting a Staircase
Step #1: Clean the Staircase
Vacuum your staircase to remove any dust or debris. Using damp cloths and warm soapy water, thoroughly clean your stairs, handrails and spindles. Allow the entire staircase to dry.
Step #2: Prepare the Staircase
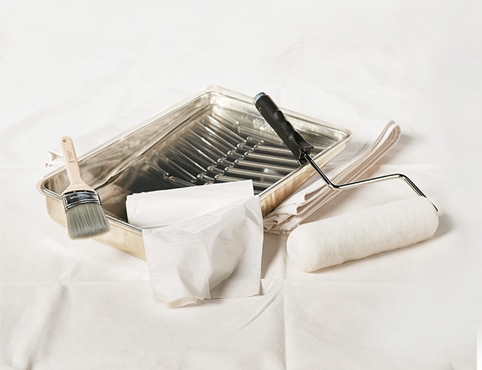
Place your drop cloth around the bottom of the staircase. With your fine-grit sandpaper (220-grit) and sanding sponge, sand the spindles, handrails, and any other wood surfaces to smooth them before painting. Vacuum up any sanding dust and wipe down your sanded surfaces with a damp cloth. Apply painter’s tape along your staircase and wall border.
Step #3: Prime the Staircase
Using Fresh Start® High-Hiding All Purpose Primer, apply an even layer of primer to the entire staircase, starting with the handrail and spindles. Work your way down from the top of the stairs. Use a small paintbrush for fine details and cutting in paint, a large paintbrush for bigger areas, and a roller for spindles and handrails. Let dry.
Helpful Tips
• Make sure your primed staircase has dried completely before you step on it to begin painting. It may be best to prime one day and paint the next.• Consider using STIX® Waterborne Bonding Primer for painting non-walking surfaces that require a bonding primer, like handrails, spindles or risers with an existing polyurethane finish.
• You might want to consider consulting a professional for elevated areas of your staircase that are difficult to reach.
• If you just want to paint staircase walls, this process is similar to painting interior walls.
Step #4: Paint the Staircase
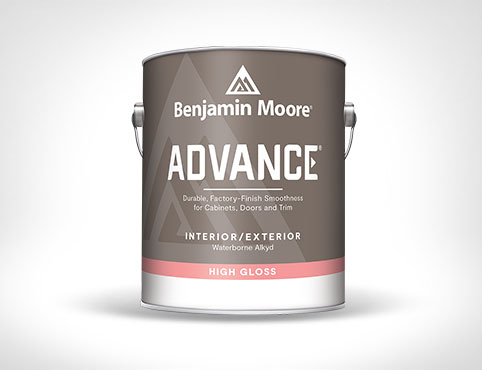
Paint the handrails and spindles first using ADVANCE® Interior Paint. Cut in paint with a small paintbrush, then switch to a roller. Start from the top and work your way down.
For the treads, risers, stringers, and nosing, paint with Floor & Patio Latex Enamel, or use INSL-X® Cabinet Coat for the risers and stringers only. Let dry.
Helpful Tips
• Your local Benjamin Moore® retailer can recommend the best stain and paint options for your project.• Can’t decide on a color choice? We’ve got you covered with staircase color ideas and inspiration.
• Check the back of the paint can for information on dry and cure times.
Step #5: Apply a Second Coat of Paint
Using the same method, apply an even second coat of paint. Remove your painter’s tape as soon as you’ve finished your final coat.
Helpful Tip
It’s important to remove tape immediately after painting, as tape can damage wood surfaces like risers, treads and handrails if left on too long.
Allow paint to cure completely before putting the staircase to use.
Now that you’ve mastered painting your staircase, consider painting the walls and ceiling above it to really update your space.
Visit your local Benjamin Moore® retailer for help with all your painting needs. Find more tips in our How-To section.

