Step #1: Choose Your Tools and Ladder
Before you start painting a high wall or tall ceiling above stairs, explore the tools that can help make this type of project a little easier.
A few specialty tool options for painting high walls and ceilings include:
- Extension Pole Adapter - Fit your paintbrush or other tools on the end of your extension pole to cut in your paint or reach hard-to-get project corners.
- Paint Edging Tool - Makes cutting in and painting around corners in high spaces much easier than just using a roller.
- Ladder Leveler - A handy device that levels a stair surface to make ladder placement easier and safer. The leveler attaches to the outside rails of the ladder and creates an even surface through adjustable legs that balance the ladder.
If you’re lucky enough to reach high walls with just an extension pole, that’s great. However, this type of project typically requires a ladder.
There are a number of ladder types to choose from. Make sure you choose the best ladder based on the height of your walls and ceiling. For especially high spaces, you might need indoor scaffolding, which you can rent.
Count on your local Benjamin Moore retailer for advice on choosing the best tools and ladder for your project.
Helpful Tip
Consider renting a ladder, ladder leveler or indoor scaffolding versus buying one to make your project more cost-effective.Step #2: Prep Your Space
When painting high walls or ceilings over stairs, remove all furniture, wall hangings and light fixtures in your project space. Cover your stairs and the area under your ceiling with a drop cloth, and tape off any stringers or molding along your staircase walls. Consider wrapping handrails in plastic sheeting. Wipe away any dust or cobwebs with a broom or duster.
Helpful Tip
Need help patching up your walls? Check out How to Fix Small Holes to get your wall hangings back up when your project is done.Step #3: Make a Plan for Painting Your Space
Once you’ve picked out your tools and prepped your space, make a plan and get organized on how to tackle the job.
Make a list to determine which painting tool you’ll need when, since each tool comes into play at different points of the project.
Map out your project space, noting:
- The areas where you’ll be using a ladder or scaffolding
- Where you can safely place your ladder
- Where you might need a ladder leveler
- When you’ll need specialty tools like an extension pole adapter or an edging tool
Once you’ve made a plan, you’re ready to paint!
Helpful Tip
Consider making a pencil sketch of your project. You don’t have to be an expert illustrator, but getting a visual down will help you map your project out!Step #4: Paint Your Ceiling
Using the right product to paint the ceiling above your stairs makes your project much easier.
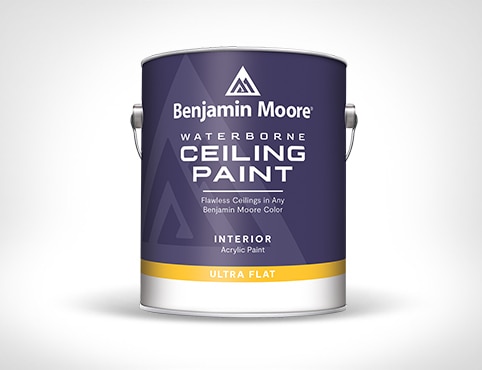
The forgiving ultra flat finish of Waterborne Ceiling Paint offers superior hide that helps cover mistakes that are easy to make in a project like this.
If you are committed to a white ceiling, INSL-X® Color Changing Ceiling Paint is another great option to minimize the appearance of surface imperfections. Color-Changing Ceiling Paint goes on pink to indicate missed spots, then dries to a uniform white, flat finish.
Start painting by cutting in the edges of your ceiling using a paintbrush on an extension pole. Switch to a roller and roll paint onto the remaining ceiling area in sections, moving your ladder as you go and making sure not to paint over your head.
Step #5: Paint Your High Walls
When it comes to how to paint high walls on stairs, if your walls have been previously painted, you don’t need to use primer. If you’re working with unfinished drywall, apply a coat of Fresh Start® High-Hiding All Purpose Primer before you begin painting.
Cut in the edges of walls with Regal® Select Interior paint using a paintbrush and an extension pole. Use a paint edging tool to paint the edges and corners of your project space.
Once you’re done painting, switch to a roller on an extension pole and roll your paint along the wall from top to bottom.
Step #6: Let Dry and Repeat
For both your walls and ceiling, allow your first coat of paint to dry before applying a second coat. Let your freshly painted walls and ceiling dry completely before returning the area to everyday use.
