Step #1: Check the Weather Forecast
Avoid wet weather, be it rain or snow, and make sure it’s not too hot, cold or humid to paint your shed and allow for it to fully dry. The optimal temperature for exterior painting projects is between 10°C and 37°C (50℉ and 100℉) in low humidity.
Helpful Tip
If you get a good weather forecast for a few days, consider painting your shed and fence in the same timeframe, as the supplies and steps are similar.Step #2: Clear and Prep the Area around the Shed
Cut the grass around your project area and remove any planter boxes to make painting your shed easier. If you’re painting a garden shed, cover any nearby shrubs, flowers or other landscaping with a tarp or drop cloth to avoid paint dripping on them.
Helpful Tip
Want to paint the inside of your shed? If your shed is like most, and is unfinished (unheated), you can use the same exterior paint you used for the outside.Step #3: Prep the Shed
Inspect the shed for loose nails, errant screws or peeling paint. Fix any spots in need of repair before you start painting. Use painter’s tape to tape off any hardware, like door handles or hinges, and protect window trim.
Wood Shed Prep: Use caulk to patch any small holes. Sand down the shed with medium-grit sandpaper (120- to 150-grit) and a sanding sponge to achieve a smooth finish and remove any peeling paint. Wipe away sanding dust and thoroughly clean the shed with a damp cloth and warm soapy water, a garden hose or a pressure washer. Allow it to dry completely.
Note: If your wood shed is new, make sure to wait three to four weeks before painting it to prevent warping and maximize adhesion.
Metal Shed Prep: Power wash the shed, or use a damp cloth, warm soapy water and a wire brush to ensure the shed surface is clean. Allow the shed to dry completely.
Vinyl Shed Prep: Make sure the vinyl is clean, stable and dry. If you have any peeling paint, lightly sand it down with fine-grit sandpaper (220-grit) and a sanding sponge before cleaning.
Key Watchout
If your home was built prior to the late 70s, always test the existing paint for lead. Easy-to-use lead test kits are available at your local Benjamin Moore retailer. Consider hiring a professional painting contractor for help if you suspect you might have lead paint, or just need additional assistance painting your shed.Step #4: Pick Primer and Paint Based on Shed Type: Wood, Metal or Vinyl
Most sheds are made out of wood, metal or vinyl. Choose primer and paint products that align with your shed’s substrate for best results.
Products for Painting a Wood Shed:
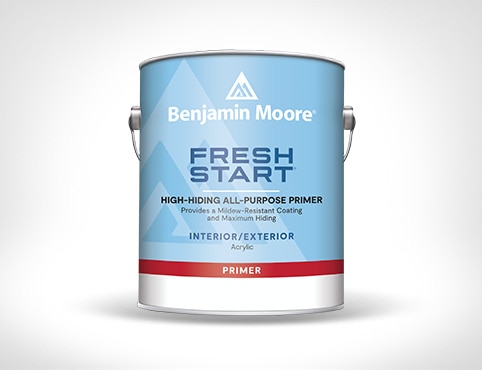
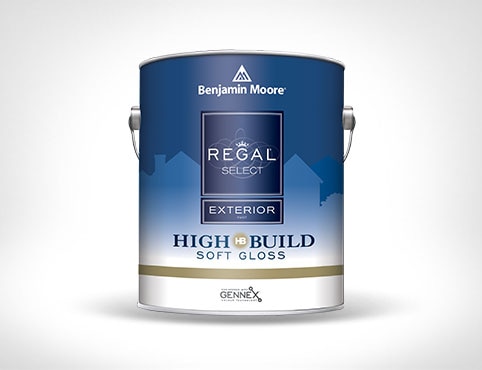
- For a shed made of wood, a high-quality primer like Fresh Start® Exterior Wood Primer works well. The best paint for a wooden shed is REGAL® Select Exterior Paint.
Products for Painting a Metal Shed:
Metal sheds are typically made from ferrous or non-ferrous metal. Why does it matter? Because ferrous (iron) metal produces rust. If you’re interested, you can use a magnet to find out whether your shed is ferrous or non-ferrous: if the magnet attracts, your shed is ferrous (iron); if it doesn’t, it’s non-ferrous (no iron).
- For primer, use Ultra Spec® HP D.T.M. Acrylic Metal Primer for both a ferrous or non-ferrous metal shed.
- The best paint to use on a metal shed is a 100% acrylic exterior paint like Regal® Select Exterior Paint.
Products for Painting a Vinyl or Plastic Shed: Some prefabricated sheds are made of a vinyl or PVC plastic material.
For vinyl or PVC sheds, we recommend STIX® Waterborne Bonding Primer and Regal® Select Exterior Paint.
Step #5: Prime the Shed
Using a large paintbrush, cut in your project edges with primer. Switch to a roller and apply an even coat of primer to the rest of your shed. Make sure to use the best primer for your shed material, be it wood, metal or vinyl.
Step #6: Paint the Shed
Using a large paintbrush, cut in the edges of your shed the same way you did to prime it. With a roller, apply an even coat of REGAL® Select Exterior Paint to your shed and allow it to dry completely.
Helpful Tip
If you’re painting a wooden shed, be sure to paint with the grain, not against it.Step #7: Let Dry and Repeat
Once the first coat of paint is completely dry, paint your shed with a second coat. Allow the paint to cure completely before returning your shed to daily use. Read paint instructions carefully, as dry time (the length of time before applying a new coat) and cure time (the time before you can return your shed to everyday use) may vary.


