Step #1: Decide Whether or Not to Paint Inside Kitchen Cabinets
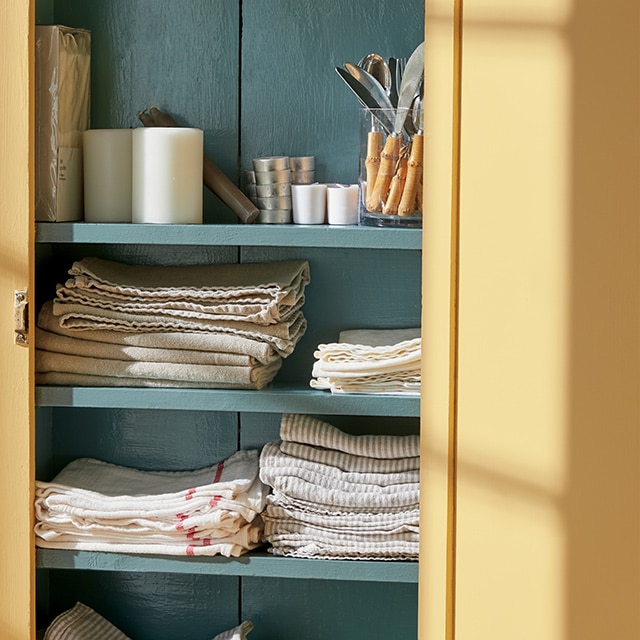
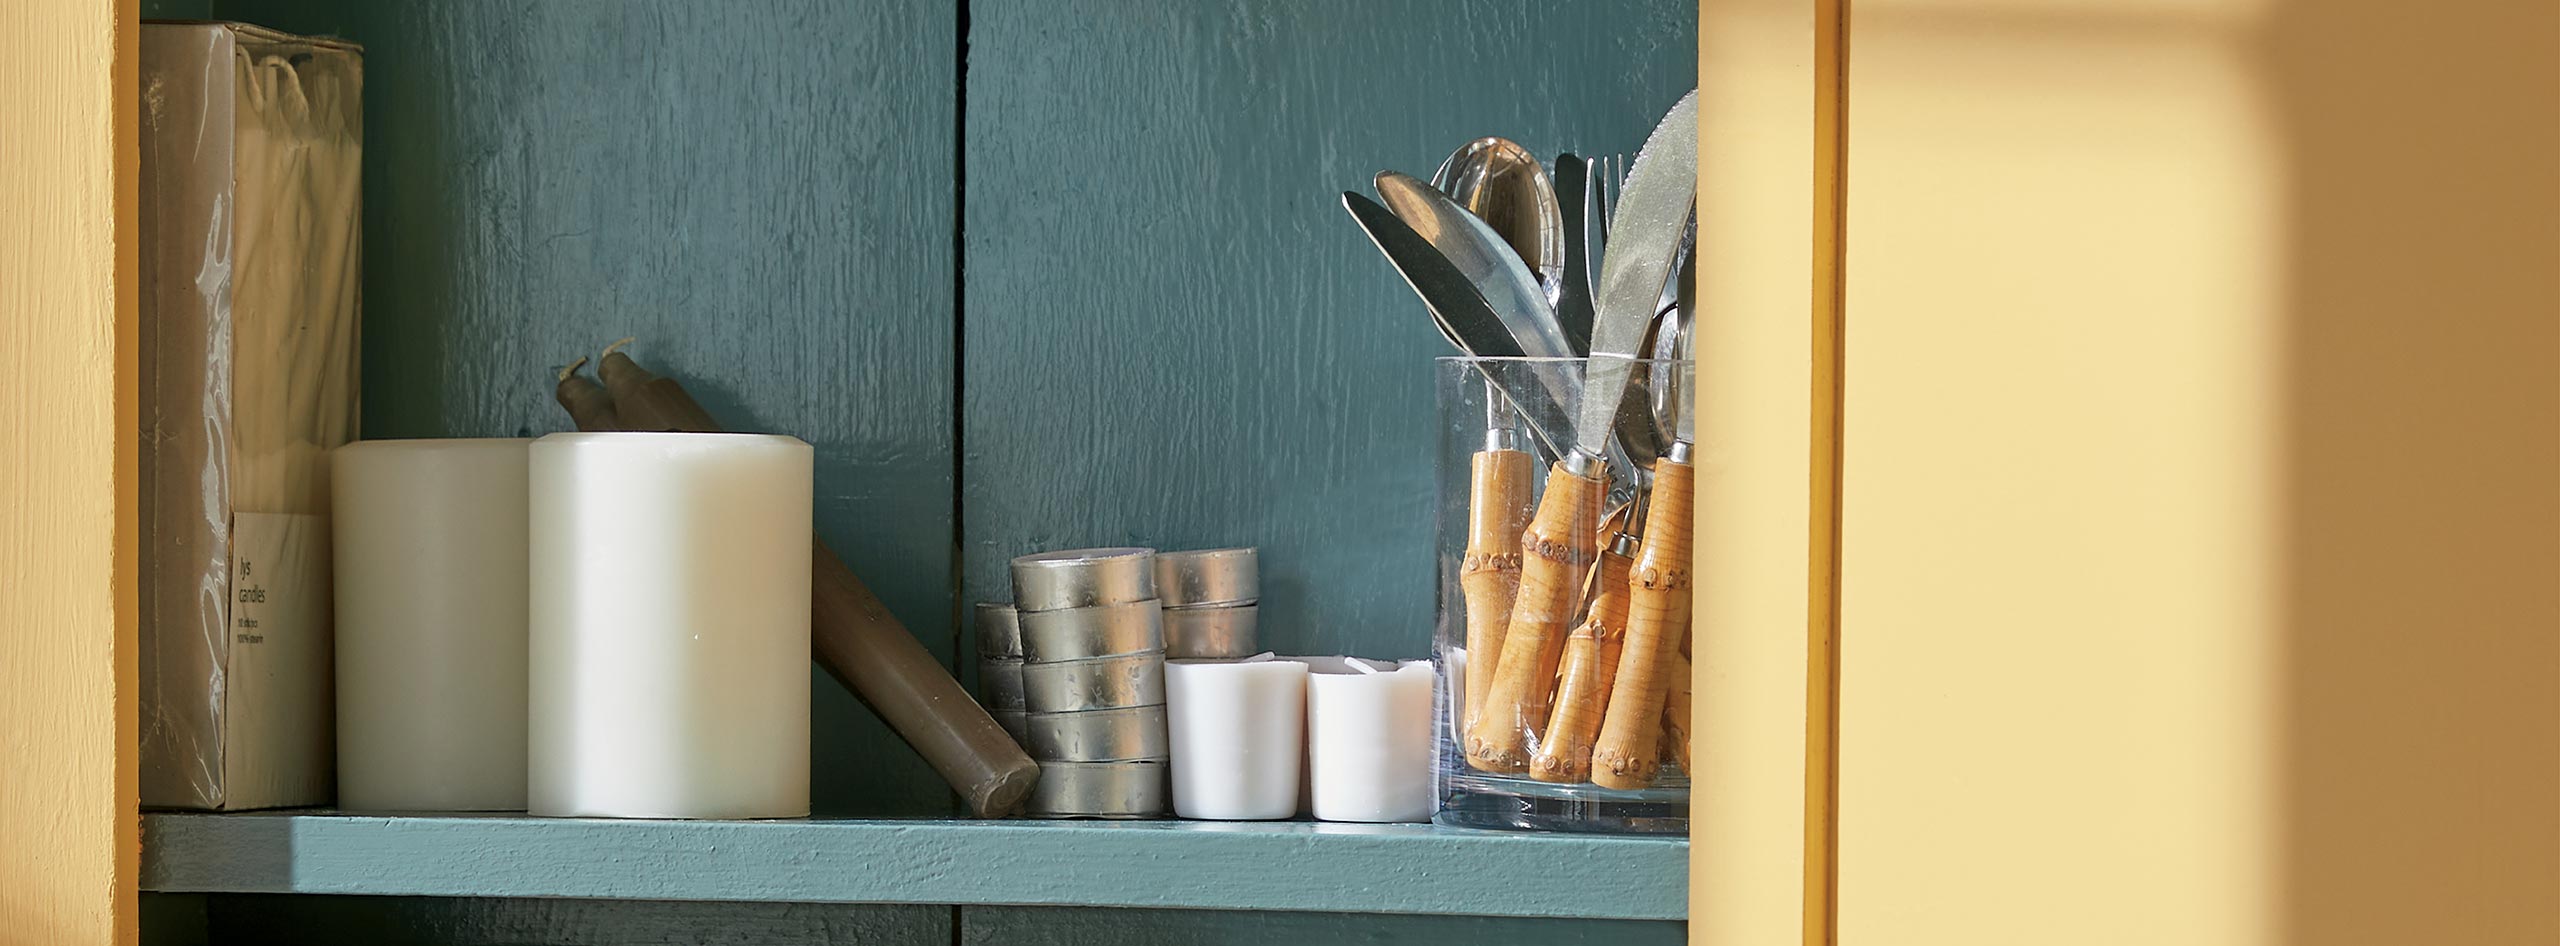
Maybe you just finished giving the exterior of your kitchen cabinets a design refresh and want the interior to take on a tidy, uniform look to match. Or perhaps you have windows on your kitchen cabinet doors and want to add some colour and design interest.
Whatever your goals, when it comes to painting inside kitchen cabinets, consider:
- This kind of project can be difficult to get right, due to the awkward angles and shape of the spaces you will need to reach.
- Painting inside cabinets is also very time consuming, and can take roughly twice as long as painting the exterior of kitchen cabinets.
- There’s a chance of paint chipping over time and getting into edible items in your kitchen cabinets.
Knowing these points, if you are still interested in taking on this DIY project, then read on. For those who are less adventurous, consider hiring a professional painting contractor.
Step #2: Remove Doors and Hardware
- Start by removing all doors and hardware.
- Place a drop cloth over the floor or countertops to protect your workspace.
- Use a screwdriver or a drill to remove the doors from their hinges.
- Place the doors and hardware away from your workspace to ensure you don’t drip paint on them.
Helpful Tip
Label your hardware and put it in a clear plastic bag. Be sure to label cabinetry doors to ensure correct reinstallation.Step #3: Clean and Prep
- Cleaning is always vital to the success of paint projects, especially in the kitchen.
- Remove all items from inside your kitchen cabinets.
- Clean the inside of the cabinets thoroughly with warm soapy water and damp rags. Use a degreaser if your cabinets are old to remove oil and grease. Let dry.
- Sanding is only required if the inside of the cabinet was previously painted or finished with a high-sheen product.
- For sanding, we recommend using medium (180 to 220-grit) sandpaper to dull wood or laminate surfaces. It is not necessary to completely remove the existing coating if there is one, but be sure to dull the inside of the cabinets to allow the paint to bite.
- Once sanding is done, vacuum up any sanding debris and wipe the inside of the cabinets down with damp rags or a microfibre cloth.
Helpful Tip
Are the inside of the cabinets previously painted or finished with a high-sheen product? Be sure to sand before painting!Step #4: Prime Inside Kitchen Cabinets
- To prime inside kitchen cabinets, we recommend using a 10- to 15 cm (4- to 6-inch) fine-finish roller on flat surfaces, and a paintbrush for hard-to-reach areas.
- Prime the inside of wood or laminate kitchen cabinets by applying an even coat of STIX® Waterborne Bonding Primer, which offers powerful bonding properties—especially important for painting over existing coatings.
- Let the primer dry completely
Helpful Tip
Remove shelving if possible: It’s easier to clean, sand, prime and paint the shelves if you can remove them.Step #5: Paint Inside Kitchen Cabinets
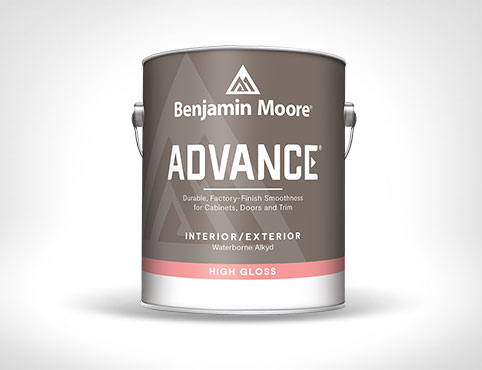
- The best type of paint for inside kitchen cabinets is ADVANCE® Interior paint, which offers a premium furniture-like finish created to withstand wear and tear. ADVANCE® is also available in any Benjamin Moore colour.
- INSL-X® Cabinet Coat is another option for excellent stain resistance and an ultra-smooth finish.
- Spraying the paint with a paint sprayer is an efficient option for applying paint. Keep in mind, however, that paint sprayers—available to buy or rent at your local Benjamin Moore retailer—must be operated responsibly and are best used outdoors or in a garage.
- If you’re hand painting the inside of the cabinets, use a roller to apply an even coat of ADVANCE® Interior paint to easy-to-reach flat surfaces.
- For hard-to-reach areas, switch to a paintbrush to apply an even coat.
Helpful Tip
Use fans, keep the windows open, and turn the air conditioning on while painting. Keeping the air flowing helps the paint dry faster.Step #6: Let Dry and Apply a Second Coat
- Check the back of the paint can for the product’s maximum recoat time. Some paints, like ADVANCE®, can take up to 16 hours to dry.
- After waiting for the maximum recoat time, apply an even second coat of paint the same way you did the first to the inside of the cabinets.
Step #7: Allow Kitchen Cabinets to Cure
Once you have finished priming and applying two coats of paint, the inside of your kitchen cabinets need time to cure.
- Cure time is the amount of time to wait before reassembling your kitchen cabinets and putting items back inside of them. The optimal cure time for ADVANCE® Interior paint is three to five days.
- Wait until your cabinets have cured completely before placing anything in them, as not curing completely may damage the freshly painted surfaces.
Helpful Tip
Make sure to follow the product’s maximum recoat time, as applying a second coat of paint too soon will extend the cabinets’ cure time (the amount of time before you can use them again). A rushed second coat will negatively affect your end result.Find Inspiration and More DIY Guides
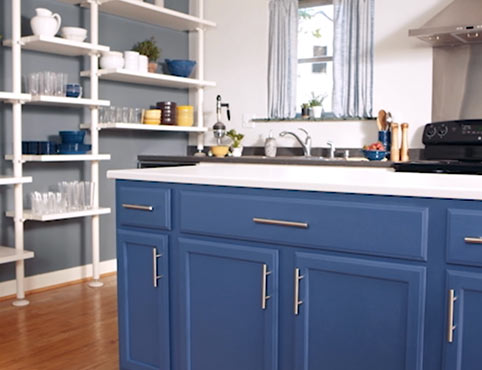
In addition to cabinets, get ideas and inspiration to refresh your kitchen. Get more how-to help for painting interiors and exteriors, as well as other ideas for DIY projects that you’re ready to tackle next!And as always, visit your local Benjamin Moore retailer for help with all your painting and staining needs.
