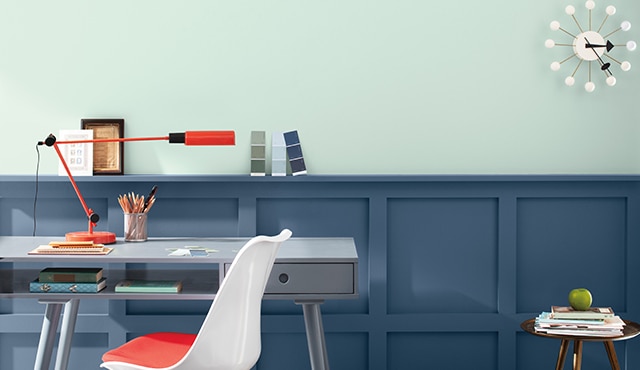
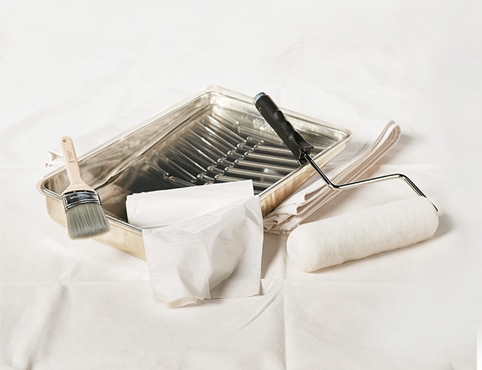
Step #1: Clean the Wainscoting
- Like any wall, wainscoting faces wear and tear over the years, so before you start your painting project, be sure to clean thoroughly.
- Using damp rags and warm soapy water, clean the wainscoting.
- Allow wainscoting to dry completely.
Step #2: Prep Your Space
- Place a drop cloth on the floor under the wainscoting you’ll be painting.
- Tape off the border with the wall and baseboard trim if you’re not painting it the same color and sheen as the wainscoting.
Helpful Tip
Going for a top-to-bottom wall makeover? Check out our guide to painting perfect interior walls, and view our video on how to paint trim.Step #3: Test for Lead Paint
- Wainscoting in homes built before 1978 will likely contain lead.
- Test wainscoting for lead paint before sanding, scraping or otherwise disturbing any surfaces.
- Use a lead test kit, available at your local Benjamin Moore retailer, to test for the presence of lead paint.
- If you’re unsure of how to test, or you find there is lead paint on your wainscoting, contact a painting professional for safe removal. Your local Benjamin Moore retailer can help you find one.
Important
Safety Note
Safety Note
If you’ve detected the presence of lead and there is paint that is peeling off your wainscoting, trim or walls, a painting professional can help you remediate the issue.
Step #4: Sand and Clean Again
- Once you’ve cleaned the wainscoting and it is completely dry, you might need to sand it. However, do not do this if you have detected lead paint on the wainscoting or are unsure if lead is present.
- If your wainscoting is in good condition and has been previously painted, you don’t need to sand it, unless there is a semi-gloss or gloss sheen on the existing paint.
- If you have any peeling paint or uneven texture on your wainscoting, or if you’re working with bare wood, we recommend using medium 180- to 220-grit sandpaper and a sanding sponge to smooth the surface.
- Vacuum up any dust or sanding debris and wipe the wainscoting clean with a damp rag or a microfiber cloth. Let it dry completely.
Helpful Tip
Since you’re only covering part of a wall, you don’t need to use much paint. Consider tackling all of the wainscoting in your home to make the most out of your gallons of paint and primer.Step #5: Prime the Wainscoting
- Because most wainscoting in older homes has been previously painted, we recommend priming your wainscoting with STIX® Waterborne Bonding Primer for superior adhesion.
- Apply an even coat of primer to the wainscoting with a paintbrush or roller by first cutting in the edges of the project area before covering the remaining surface.
- Allow the primer to dry completely.
Step #6: Repair Any Cracks or Holes
- Once you’ve primed the wainscoting, be sure to repair any cracks or small holes, like nail pops, before you paint.
- Apply a small bead of caulk to fill in any smaller damaged areas. Push the caulk into the crack or hole from the middle with a putty knife, before pulling it outward to smooth the surface, and removing any excess caulk.
- For larger cracks and holes or any loose paneling, use spackling or joint compound and a putty knife for repairs.
- Allow the caulk, spackling or joint compound to dry completely.
Step #7: Paint the Wainscoting
- After you’ve primed and made any necessary surface repairs, it’s time to paint the wainscoting.
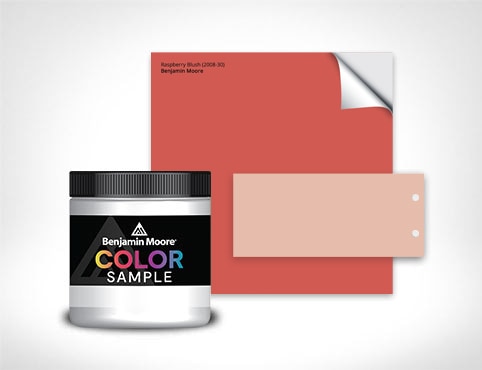
- Choosing the right paint color is always a challenge. Check out our color selection guide for color tips. You can also try before you buy with color samples to ensure you choose the perfect shade for your project.
- For wainscoting, we recommend Regal® Select Interior paint, which offers excellent hide and uniform finish, and is available in 3,500+ Benjamin Moore colors.
- With a paintbrush or roller, cut in the paint by applying an even amount along the edges of the wainscoting, then fill in the remaining project surface with an even coat of paint.
Key Watchout
When selecting a paint sheen for wainscoting, remember:• Lower sheens like flat or matte finishes will hide more imperfections but are slightly less durable.
• Higher sheens like semi-gloss or gloss finishes will show more imperfections but offer more durability.
• Higher sheens also offer more reflective properties than lower lustre finishes.
Step #8: Let Dry and Apply a Second Coat of Paint
- After waiting for the paint’s maximum recoat time, apply an even second coat of paint in the same way you did the first coat.
- Remove any painter’s tape immediately after you’ve finished your second coat of paint to prevent paint from peeling off with the tape.
- Allow the paint to dry and cure completely before returning the area to everyday use.
Tackle Your Next DIY Challenge with Confidence
Got another home painting project you want to try? View our painting how-to guides for advice to take on your next DIY challenge with ease.As always, count on your local Benjamin Moore retailer for help with all your painting needs.
