Step #1: Prep Your Space
- Turn the baseboard heater off before you start painting.
- Open a window for good ventilation. You can also wear a dust mask for protection against fumes or sanding dust.
- Put on protective eyewear for safety.
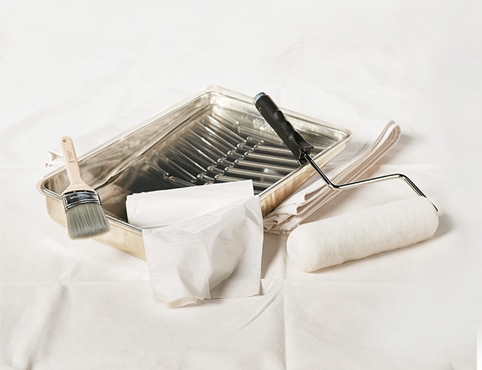
- Place a drop cloth on the floor around your project space.
- Tape off the wall border near your baseboard heater if you’re not disassembling it.
Key Watchout
Make sure to turn your baseboard heater off before you paint it, as not doing so will likely result in uneven paint application and could pose a safety risk.Step #2: Decide Whether to Take Apart the Baseboard Heater or Not
- While not necessary, you might want to remove the cover of your baseboard heater for an easier paint job.
- When it comes to how to remove a baseboard heater cover, every model is different. You can identify how to remove your baseboard heater cover in your appliance manual, or if you don’t have it, search for more information or instructional videos online.
- Typically, the cover pops up and comes off easily, but keep in mind that every model is different.
Helpful Tip
Don’t have your baseboard heater’s product manual? Look for a panel that opens and lift it up. Inside, you’ll likely find a product name or model number to help you find detailed instructions online.Step #3: Clean and Sand the Baseboard Heater
- Use warm, soapy water and a damp rag to clean the baseboard heater. Follow with a clean damp rag to remove any soap residue and allow the heater to dry completely.
- When the baseboard heater is clean and dry, if there is any rust or peeling paint you will need to sand it.
- We recommend using either medium 180- to 220-grit sandpaper and a sanding sponge or steel wool to smooth the surface.
- Vacuum up any dust or sanding debris and wipe the baseboard heater down with a damp rag or a microfiber cloth. Allow it to dry.
Helpful Tip
Wondering if your baseboard heater is too rusted or damaged to be painted? If the baseboard heater is dented, severely rusted or looks like it can’t be fixed in general, it should be replaced.Step #4: Prime the Baseboard Heater
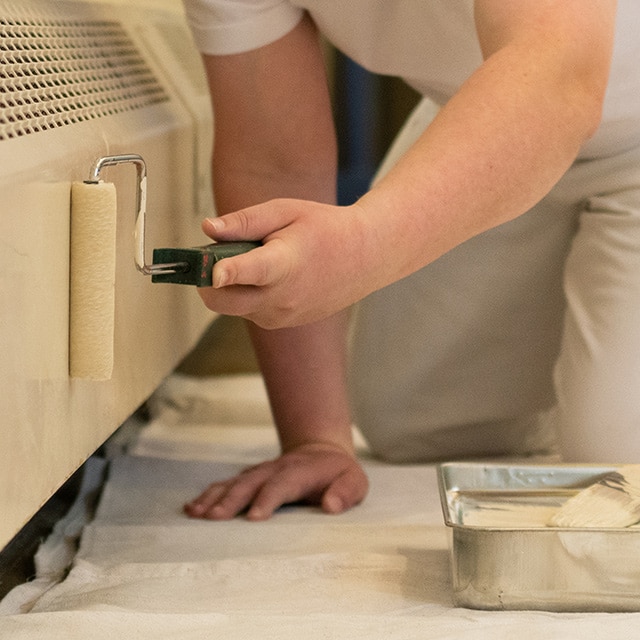
- To prime and paint a baseboard heater, we recommend using a small paintbrush or a 4- to 6-inch fine-finish roller.
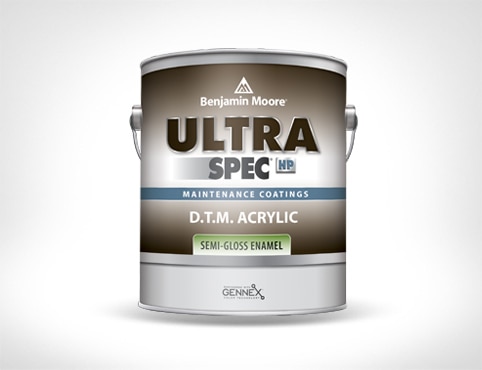
- Apply an even coat of Ultra Spec® HP D.T.M. Acrylic Metal primer to the baseboard heater cover.
- Allow the primer to dry.
Helpful Tip
Painting and priming one baseboard heater in your home doesn’t require a lot of product, so get the most out of any products you buy: Tackle all your baseboard heaters in the same weekend. We recommend the same for painting radiators.Step #5: Paint the Baseboard Heater
- Because most baseboard heaters don’t get above 200 °F, you don’t need to use special heat-resistant paint. While most interior acrylic paints like Regal® Select or ben® Interior paint will work well on a baseboard heater, especially if there is no rust, we recommend using Ultra Spec® HP D.T.M. Acrylic paint for excellent rust inhibition and protection against corrosion.
- With a paintbrush or roller, apply an even coat of Ultra Spec HP D.T.M. Acrylic paint to all exterior surfaces of the baseboard heater.
- Spraying primer and paint can save time on a project like this. Get spray paint products or a paint sprayer from your local Benjamin Moore retailer.
Helpful Tip
Check with your local Benjamin Moore retailer for product availability and for spray painting advice.Step #6: Let Dry and Apply a Second Coat
- After waiting for the paint’s maximum recoat time, apply an even second coat of paint to the baseboard heater the same way you did the first.
- Be sure to wait until the paint is dry enough to handle, before putting the baseboard heater back together and turning it on.
- For specific details about any Benjamin Moore product you use, including recoat and dry times, consult the back of the can and the product’s Technical Data Sheet.
Find Your Next DIY Challenge
Check out our painting how-to guides for tips and advice on your next DIY project.As always, visit your local Benjamin Moore retailer for help with all your painting needs.


