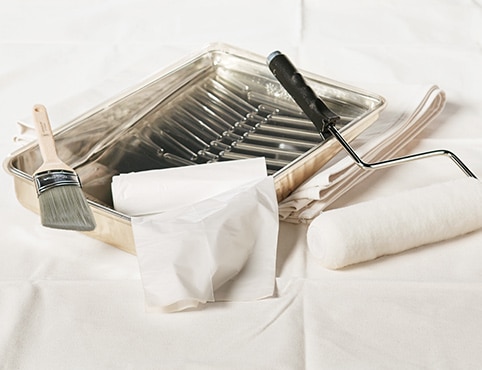
HOW TO FIX A HOLE IN THE WALL
From damage due to moving mishaps or wayward doorknobs, a hole in your wall is a fairly common problem. The good news is that it isn’t that hard to repair.
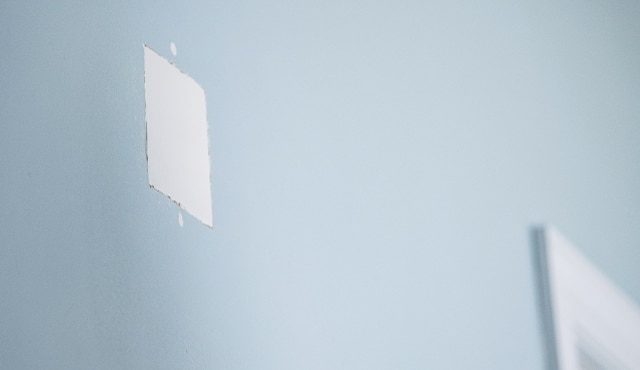
How to Fix a Large Hole in the Wall
If you find yourself with a large hole in your drywall, you don’t have to call a handyman: Patch up the hole yourself by following the simple steps below.Helpful Tip
Small or big holes? If you just need to fix a small screw hole or a few cracks, we’ve got you covered with this guide to fixing cracks and screw holes.Step #1: Prep the Opening
Square off the edges of the hole to create straight sides. You can use a framing square as a guide and a pencil to mark your cutting lines on the drywall.
Step #2: Cut your Reshaped Hole
- Measure the shape you’ve drawn around the hole in the wall and cut the same size patch out of your new piece of drywall.
- Hold the new patch over the hole and trace the edges with a pencil.
- Cut along the pencil lines with a knife/drywall saw to match the patch. Your hole should now be a square or rectangle shape.
Helpful Tip
Note that the thickness for patching the hole must be the same thickness as the existing drywall wall.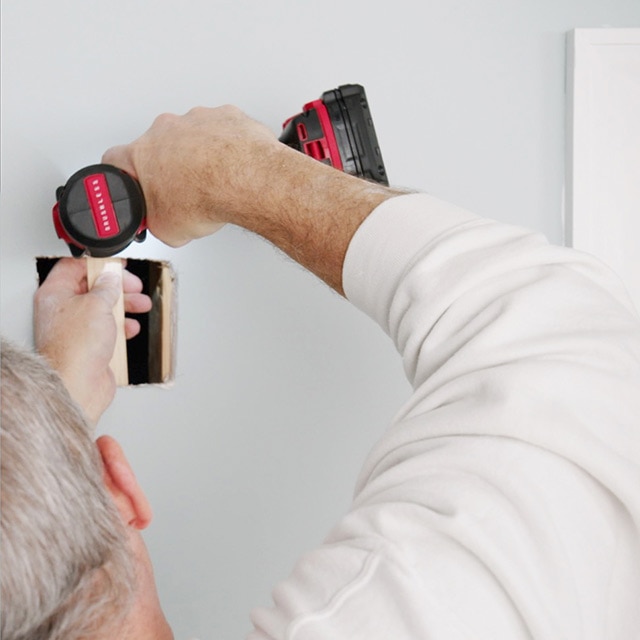

Step #3: Install the Backing Strips
- Cut pieces of lumber or plywood (you can also use paint stirring sticks) to be a little bit longer than the long sides of the hole.
- Put one of the strips into the hole along one of the long sides so it is centered over the drywall edge (half behind the drywall, half exposed).
- Use a drill and screws to secure the strip. Drive the screws through the drywall and into the strip. Keep the screws about 2.5 cm (1 inch) from the drywall edge, making sure to counter sink the screws so the hole can be filled with spackling compound (USG mud). Repeat the same process to install the other backing strip at the other long side of the hole.

Step #4: Install the Drywall Patch
- Place the new patch of drywall you cut into the hole; the gap between the edges of the hole and the new drywall patch should be minimal.
- Use a drill and drywall screws to gently secure it to the backing strips.
- Keep the screws about 2.5 cm (1 inch) from the edges of the patch, making sure not to overtighten the screws and break through the paper face of the drywall.

Step #5: Spackle the Seams
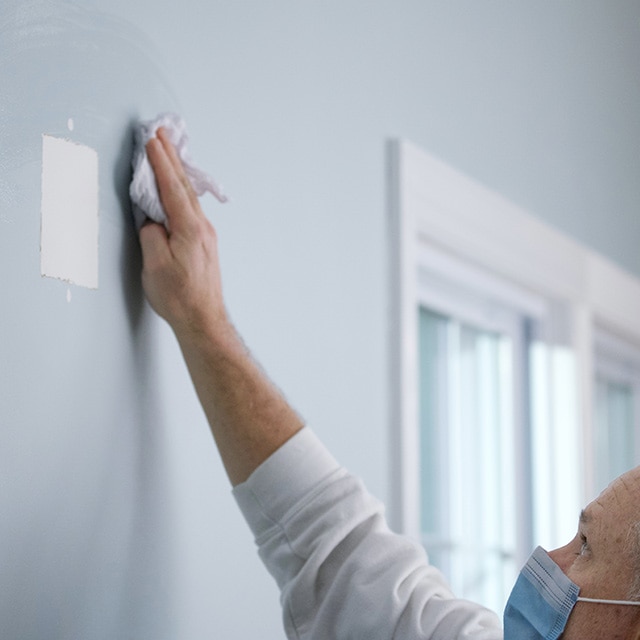
- Cover the drywall tape with a thin layer of spackling compound using a 15-cm (6-inch) drywall knife. Let the spackling compound dry. Scrape the surface with the knife in a downward direction to remove any clumps.
- After sanding, apply another thin layer of compound, extending it beyond the edges of the first layer.
- Use the knife to ‘feather’ the edges of the wet compound over the surrounding drywall so it gradually tapers to nothing. Let the second layer dry. Scrape again in a downward direction. Add a third layer and let dry.

Step #6: Sand the Spackling
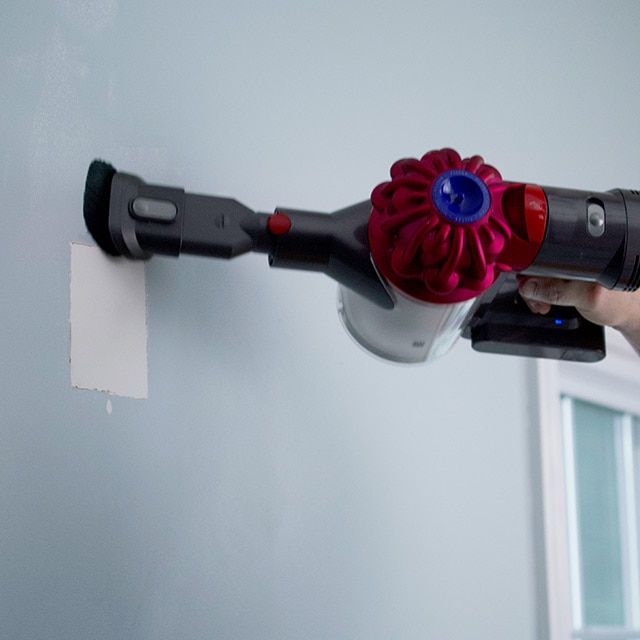
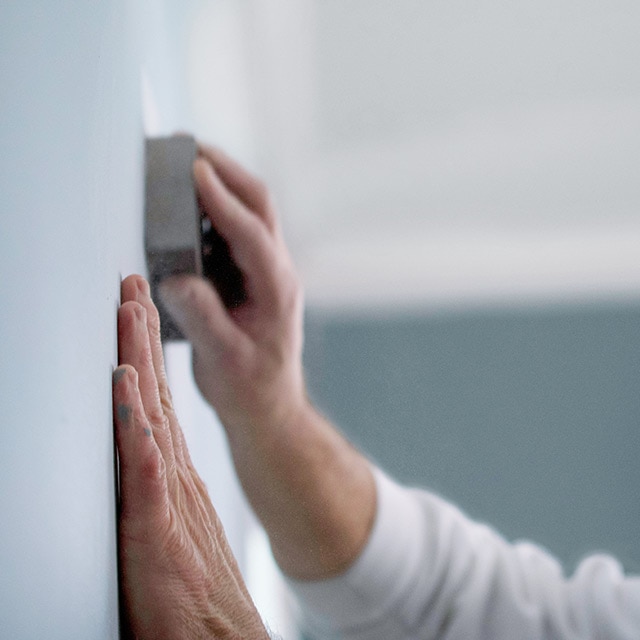
Sand the dried spackling compound with a sanding sponge to smooth the surface, being careful not to over-sand so that the tape shows. Wipe or vacuum any sanding dust.

Step #7: Prime and Paint the Patch
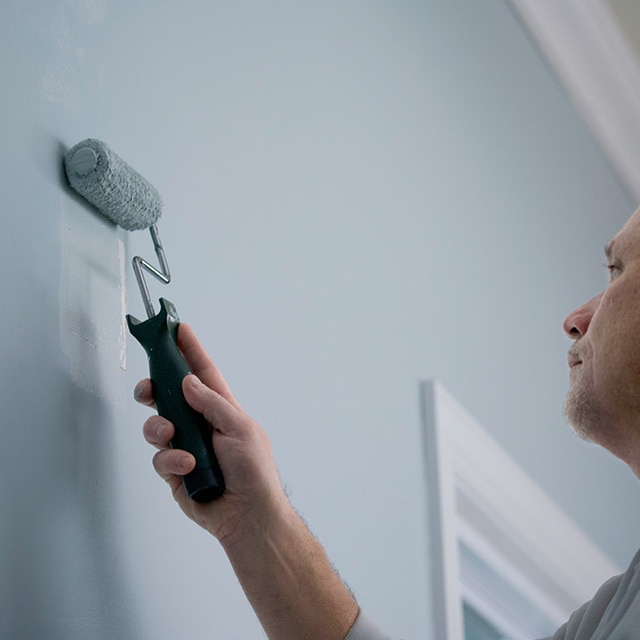
Using a roller, cover the entire patch area with a coat of Fresh Start® High-Hiding All Purpose Primer and let dry. Apply two or more coats of REGAL® Select Interior Paint to match the surrounding area with a roller, as needed. Let each coat dry completely before applying another coat.


